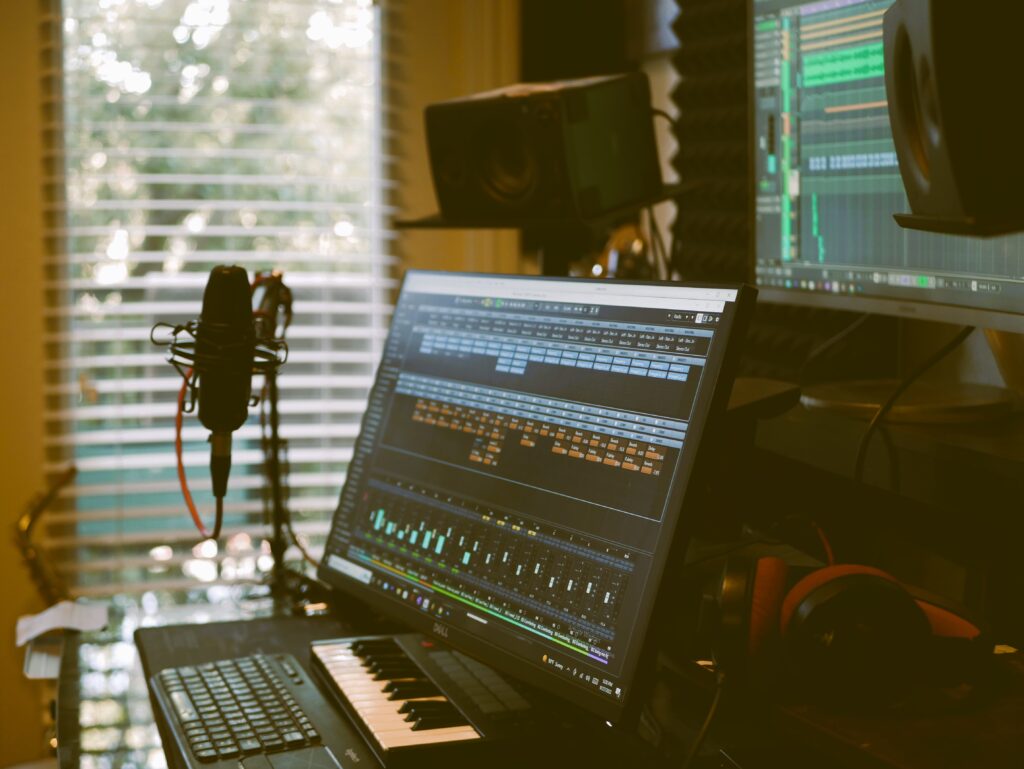
Beginner Home Studio Equipment
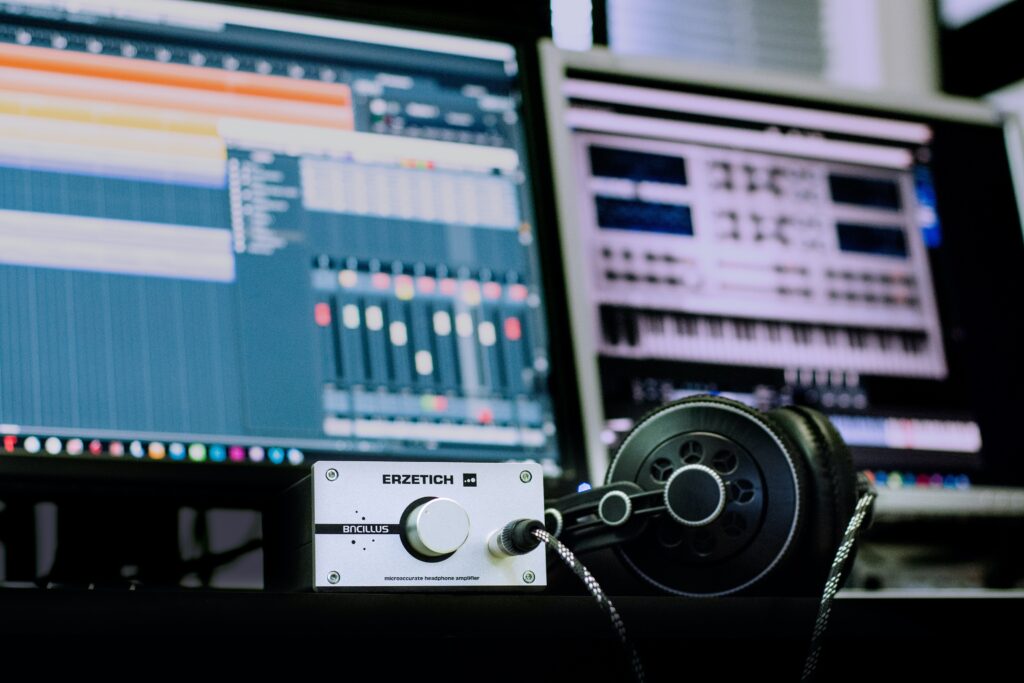
You finally wrote the last verse from your song, you got the guitar rhythm down and you’re pumped to hear how your voice sounds. You grab your phone, press record, and Wham! You got yourself a recording…. The only thing is…. When you play it back you can’t hear the guitar, your voice starts to distort, then you realize you hear more of your AC unit and the neighbor’s dog than anything else.
You finally decide to invest in some recording equipment, but you just don’t know where to start. Let me give you a simple list of the basic beginner equipment you’ll need for your home studio. I’ll also give recommendations to help you begin your gear search.
Before I begin, I want to let you know, whether you are a singer/songwriter, producer, the next Taylor Swift, or Kanye West; this list applies to all musical backgrounds and the gear can be developed as your journey progresses. Remember whatever you have on hand now… USE IT! It’s best to learn your gear and evolve later. You’ll be surprised how many people buy gear and use only 10% of it without realizing they can do much more with what they have.
Heads up: this page includes affiliate links. If you click and purchase, I may receive a small commission at no extra cost to you. I only recommend gear I have personally vetted.
Okay on with the show! Er– I mean blog!
1. COMPUTER
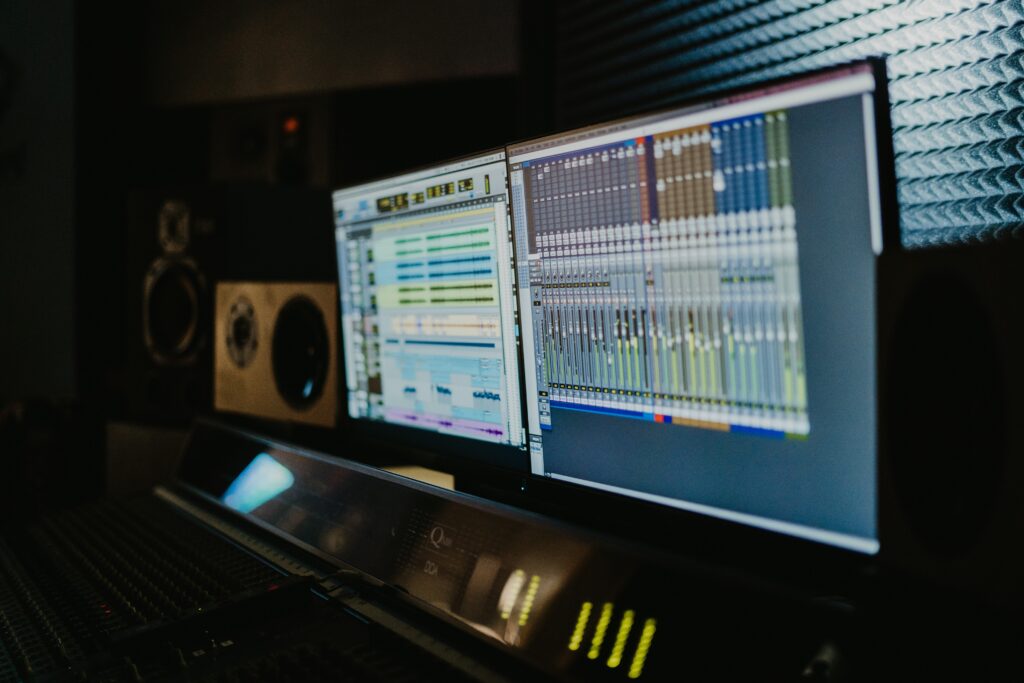
Unless you plan on buying an analog mixing board (more on that in the future) You will need a computer to help capture your sound. It doesn’t matter if it’s a PC or MAC, both work fine for music production.
What DOES matter is the type of DAW or Digital Audio Workstation you plan on using. This is important to know since some audio software or DAW ( I want to embed this in your mind early) functions solely on PC or MAC. Right now I can tell you Logic Pro and Garageband can only be used with MAC computers.
Another thing you might consider, if you don’t have a computer and/or plan to buy a new one, are the computer’s specifications. So before heading to amazon and buying the first sweet-looking laptop amazon recommends, sit down and figure out what you are wanting out of your studio.
Types of questions you should ask yourself when looking for a computer.
- Are you planning on keeping the gear simple and basic?
- Do you need to add any outboard gear or extend your plugin inventory?
- Do you want to eventually record your 4 man band?
- Are you mixing a whole orchestral suite that requires a hefty amount of CPU before it crashes your computer?
- Are you going to be using this computer for other things like video editing, playing Gotham Knights, watching videos, or just plain music stuff!!!
“ Okay Pam, stop making me think more. I just want to record my song and move on. I’ll figure it out later!” Haha, of course, don’t think too much about it. If there is a particular computer you already have in mind then go with that one!
Laptop and Desktop Recommendations
- Acer Nitro 5 – Looking for a machine that will grow with you on this musical journey? The Acer Nitro is a powerful laptop with upgradable SSD and RAM. Recording on the Go has never been easier.
- Acer Aspire 5 – It’s not that great to look at but it’s such a powerful computer for less than $700! 6 core processor, 16GB of RAM , 512GB SSD, Windows 11! … I mean if you won’t get it, I will.
- HP Pavilion – Gaming Computers are great for music production. Mainly because they require a hefty amount of CPU and Ram for big file video games. Plus, you get some great graphics on your screen.
There are many options out there for you too choose from. These are just a few that I would recommend you check out so you can get an idea of which computer is suited for you and your home studio.
2. DAW ( Digital Audio Workstation)
Things to consider when downloading your first DAW.
Number one, Cost. Number two, what are you planning to do with your digital audio workstation?
Getting something for free is always awesome, especially if you are starting and don’t know which DAW to choose from. A lot of the industry standard DAWs have a free download for those just getting started. If you just want to get to know how to work this thing called a digital audio workstation, and don’t want to deal with payments; get yourself a free plan. Now I will say the free software will each have its limitations, but it will get you started with making music in no time.
The second thing you should consider is what you are going to do with your DAW. “ Uhm Pam… MUSIC DUH!!” Alright, alright of course you are using it to record music and such but think also why you are recording or producing your music in the first place. For instance, have you heard someone tell you, “If you want to remake Odesza’s In Return album, you have to get yourself Ableton Live!” how about this one, “If you want to get great mixes you have to get Protools!” or one of my favorites “ All film composers use Cubase!” LIES!!! ALL LIES!!! jk not really. Look it all comes down to what you want to get out of your DAW besides the musical side. For instance, do you want to get a job at a video game company that uses Reaper? Get yourself Reaper so you can get a head start on your resume. If you just bought your favorite YouTuber’s music production lesson plan Beginner FL Studio Course, then please do yourself a favor and get yo self FL Studio.
If you really don’t know yet and you are just exploring, I am going to let you in on a little secret. You can pretty much do the same thing in all DAWs…. * crowd ooohhhs and aaaahhhs* I’m serious! In the end, all DAWs are there for one thing… capturing and helping you produce your music. BOOM! All DAWs will have some sort of mixing window, all will have a channel window, and all will allow you to record some form of audio.
Pro Tools, Cubase, Logic Pro X, Ableton Live, FL Studio, Studio One, Garageband, Reaper, Cakewalk, do any of these sound familiar?
We are living in a time where everyone has access to creating radio-worthy songs. Beginning with digital audio workstations. There are so many new DAWs being developed every day it’s hard to catch up. The ones I named above are some of the popular ones to date and I can guarantee you Beyoncé’s engineers uses at least one of them.
3. AUDIO INTERFACE
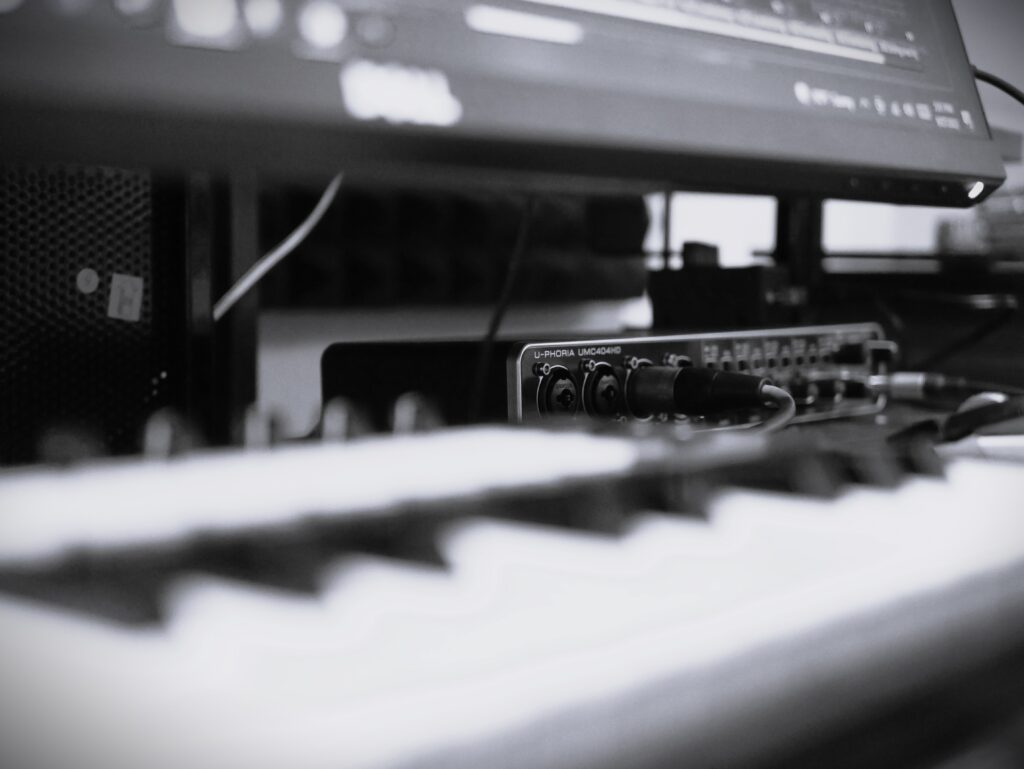
How do we connect our XLR microphones to the computer? With a special gear called an Audio Interface. This piece of equipment might be the one thing that is more daunting for beginners than anything else. Well, I’m here to tell you, it’s probably the most exciting!! Because you are one step closer to listening to your recordings.
The audio interface converts your voice or instrument into a format that your computer can read. It can also return sound into a format YOU can hear through your speakers. There are many benefits of having an audio interface, especially if you are starting your music studio at home.
- You can use one or multiple XLR microphones and record at the same time.
- The headphone output from the interface will sound louder and better than the headphones from your laptop jack.
- They can have several inputs for your synths, guitar, bass, keyboard, and even some mixing and mastering gear.
Budget Interfaces
Just because I wrote “budget” doesn’t mean these interfaces I recommend don’t have excellent sound qualities. I only upgraded my starter interface because I began recording my friend’s 4 man band, which required more than 1 input (the input is where we connect our microphone, line, and/or instrument cable to the interface). If I didn’t require more inputs I would have continued using the same audio interface that I started with, which lasted me years.
Below are the budget models that have one or two inputs and support one pair of monitors and headphones. At the end of this article, I will also leave a link to the bundles that come with a microphone and some headphones so ya’ll save some extra cash for other gear.
- Behringer U-Phoria UM2 – one XLR input and one instrument cable input. You can control volume for headphones and one pair of speakers. Such a great budget interface. I ended up getting her sister interface UMC404HD for more inputs.
- Focusrite Scarlett Solo – similar to the U-Phoria UM2, this bad baby has 2in/2out but the option for a higher resolution is sweet!
Here are some great bundles!
4. Headphones
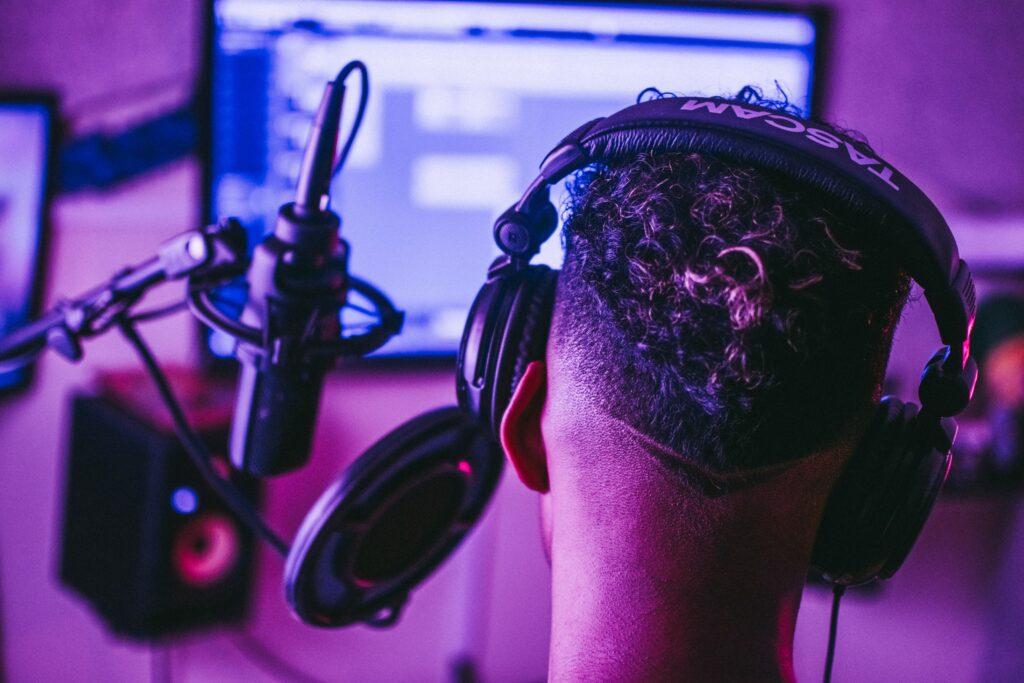
Headphones are very important to have in your studio. Mainly because you need them to give you a perspective on what is coming OUT of your DAW….. Obvs. But don’t just get any headphones you see at target! If you end up using Beats, Airpods, or any generic playbacks that are not meant for music production, it will affect how your music will turn out.
When you are a beginner mixer, producer, or recording engineer; your ears aren’t trained to hear every frequency that is being captured through the microphone. You eventually will need a pair of nearfield monitors but a good pair of recording or mixing headphones work fine when you are starting. They will help you hear the low, mid, and high frequencies that need to be added in or taken out of your mix. Plus if you are a night owl or have a big family that lives with you, the headphones will keep you and your family sane.
Here are some great quality headphones to start with.
- Beyerdynamic DT770 Pro – Closed-back headphones that offer flexibility and acoustic definition that will reveal every musical detail.
- Sony MDR7509HD – I can tell you right now, almost all studios, audio engineers, musicians, anyone who is in the industry has had or has worn these pair of headphones at one point in time in their career. That should say a lot about these professional headphones.
5. MICROPHONE
Condenser or Dynamic?
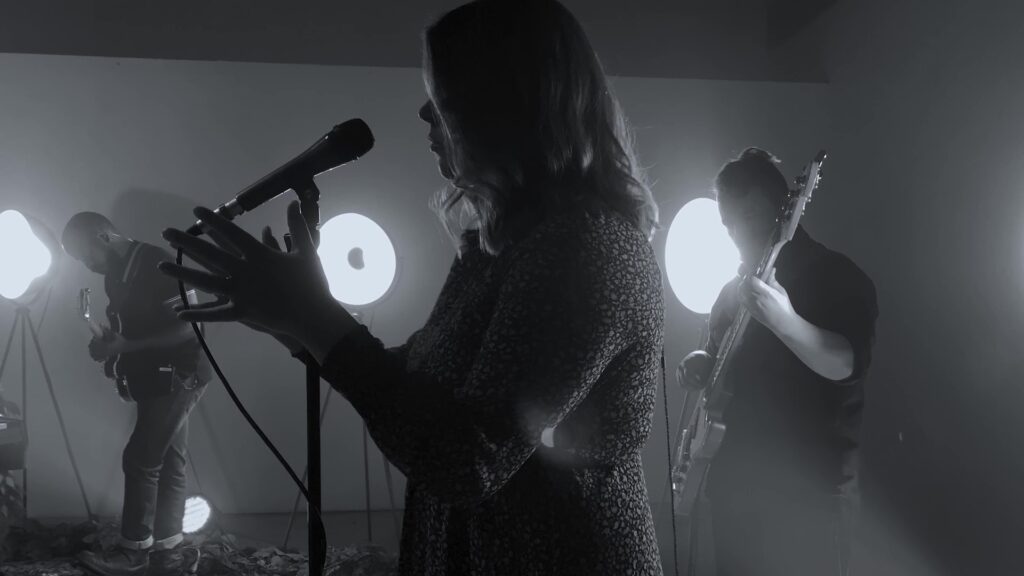
There are several types of microphones but the ones you should start with can be either a condenser or dynamic microphone. I will go into great detail about what the difference is between these types of microphones later on, but for now, let me give you some quick examples of what both do.
You’ve probably seen a dynamic microphone before if you’ve been to a rock concert or you sang at your school’s Christmas concert. Dynamic microphones are famous for vocals during live shows, capturing electric guitars, drum sets, and even brass instruments. A condenser microphone is a very sensitive microphone and is typically used in the studio. You ever see a movie about a famous singer or artist and they’re in the studio recording their music in a small “soundproof” room with headphones and some circle-looking thing in front of a microphone? Yeah, it was most likely a condenser microphone. Now when I say sensitive, I mean it can capture almost anything that it hears in the room. Of course, there’s more to it, but remember I am keeping it simple for ya.
USB MICROPHONE?
I am going to be completely honest with you, unless you plan on being a youtuber who specializes in reviewing games, or you are doing a make up tutorial or on a budget for a podcast, I really don’t recommend using a USB microphone. USB mikes are mainly condensers which is great for studio mics but if you are going to record drums or your electric guitar, I would go for the XLR microphone. Plus, If you are going to being using your studio for music, I would start using gear that the music industry commonly uses.
Here is a list of great budget microphones you can start with.
- Behringer C-1 Large-Diaphragm Condenser – Let me just say, this mic doesn’t get enough credit for the great sound it captures.
- Behringer XM1800s Dynamic – I recorded 3 podcasts, and a whole drum set with these mics. Behringer did an amazing job keeping the cost low while still providing great capturing mics.
- Rode NT1-A Condenser – Such a beautiful mic for your acoustic guitar and voice… just sayin.
- Shure SM57 – The most famous dynamic microphone in the industry. Remember this one right here. Best known to record drums, electric guitars, vocals, brass and so much more.
6. ACCESSORIES
XLR, Pop Filter, Microphone Stand
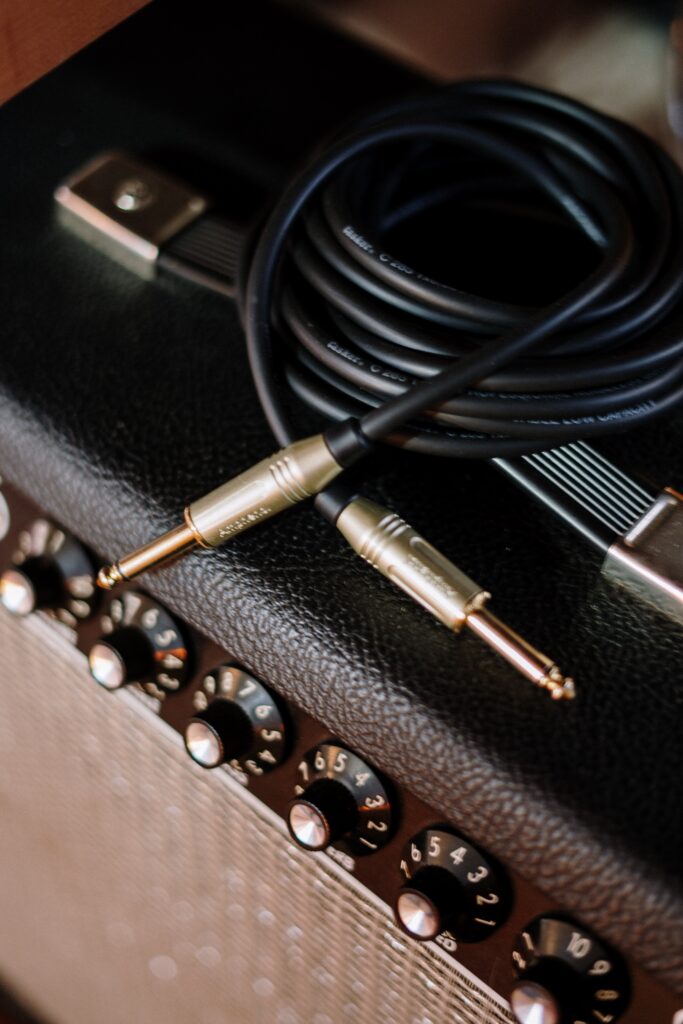
There’s a lot of great information out there on how to get started with your home studio. The only thing I notice is that people forget to mention some real necessities and certain items that you need and that will make your music production run smoother.
- XLR cable : Unless you plan on getting a USB-powered microphone… XLR cables are a must to connect your microphone to your audio interface. It’s the cable with 3 pins, not 5! If you get the 5-pin, do not try to use it with your microphone you may damage both and end up having to buy your gear all over again. ( The 5-pin cable can either be a DMX cable, used for lighting, or a midi cable used for connecting other gear. )
- Microphone stand : Pleeeeease, get yourself one. This will help you focus on your craft and leave the microphone-carrying job to the microphone stand. Also, microphones are sensitive, one single movement and your mike will capture the movement in your recording.
- Pop Filter : Now the pop filter isn’t completely necessary but it will help you in the long run. Especially, if you are a vocalist and are planning to have your music mixed.
7. MIDI CONTROLLER
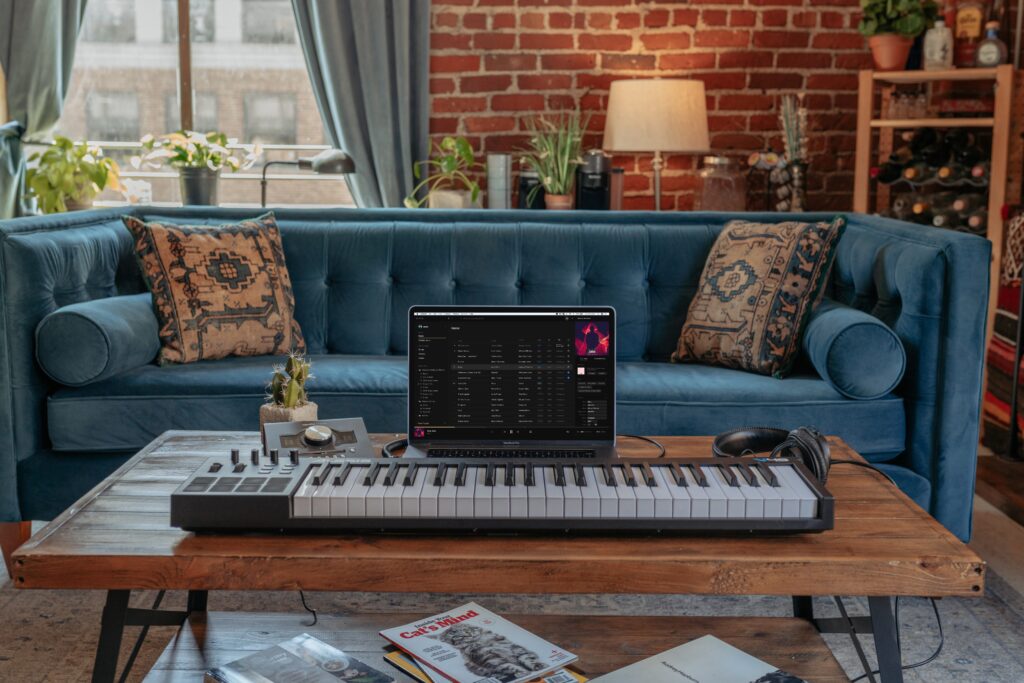
Okay here’s the thing. I made the midi controller last because honestly, you don’t need the midi controller keyboard or drum pad, to start making music. Your free DAW also comes with a free digital midi keyboard that you can use with your laptop keyboard or go old fashion and use your mouse. It’s much more efficient to use your midi keyboard controller, yes but it not entirely necessary.
Now, if you have been using the digital free midi keyboard that came inside your DAW and you need to speed up your workflow, then by all means! Get yo self a sweet midi controller.
Here are some recommendations.
- Novation Launchkey Mini 25-note – This controller can be mobile and doesn’t take to much room in your backpack. I still use this one today. I would take it to school and create some beats between classes.
- M-Audio Keystation 49 MK3 – A great midi keyboard for composers wanting to write for film and video games. The modulation wheel is used to add expression or to “modulate” sound.
To sum everything up, use the computer you have, download the DAW you need, consider getting the audio interface bundle that comes with headphones and a microphone, and don’t forget the XLR cable, pop filter, and microphone stand. Try to use that gear first then consider buying a midi controller.
If you like this post consider leaving a comment down below. Also, let me know if you have any questions or if you’d like more information about starting your home studio. Shalom.
